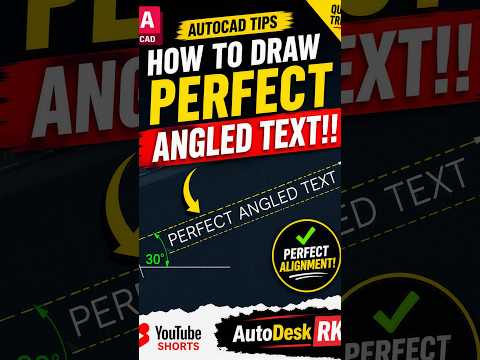
Creating a professional-grade technical drawing requires more than just accurate lines and dimensions; it demands clean, legible, and perfectly aligned annotations. One of the most common challenges for beginners and even intermediate users is ensuring that text follows the specific geometry of a design. Whether you are labeling a sloped roof or a complex mechanical part, knowing how to draw perfect angled text is a game-changer for your workflow within the Autodesk ecosystem.
Why Precise Text Alignment Matters
In the world of architecture and engineering, clarity is king. Text that is improperly aligned can lead to misinterpretations on the job site or in the factory. By mastering angled text, you ensure that your annotations look integrated into the drawing rather than just hovering awkwardly over it. This level of detail is what separates a standard draft from a high-quality professional document.
Step-by-Step: Drawing Angled Text
There are several ways to achieve the perfect angle, but the most efficient method involves utilizing the specific properties of the Text or MText commands.
- Specify the Angle During Creation: When you initiate the
TEXTcommand, Autodesk AutoCAD will prompt you for a starting point, a height, and—most importantly—a rotation angle. Instead of clicking randomly, you can type the exact numerical angle (e.g., 45 or 90) to ensure mathematical precision. - Using Existing Lines as a Reference: If you need your text to be parallel to an existing line, use the
ROTATEcommand. After placing your text, select it, use theReferenceoption within the Rotate command, and pick two points on your reference line. This snaps the text to the exact slope of your geometry. - The TORIENT Command: For those using AutoCAD with Express Tools, the
TORIENTcommand is a lifesaver. It allows you to select multiple text objects and align them to a specific orientation or an existing object instantly.
Pro Tips for Professional Layouts
To maintain consistency throughout your project, always check your "Text Style" settings. Ensure your font height and style are uniform so that when you apply angles, the visual weight of the drawing remains balanced. Additionally, utilizing Object Snaps (OSNAP) while rotating text ensures that your alignment is pixel-perfect.
Conclusion
Perfecting your annotations is a vital step in mastering Autodesk software. By following these simple techniques, you can transform cluttered drawings into clean, professional masterpieces. Practice these rotation methods today to improve your drafting speed and accuracy!


