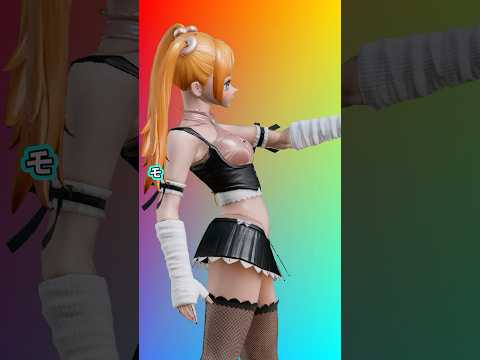
Character rigging is often seen as a daunting task, but breaking it down into simple, manageable steps makes the process much more approachable. One of the most critical stages in this workflow is "Skin Binding." This is the essential bridge where your 3D mesh finally connects to your skeleton, allowing the character to move, bend, and deform naturally. In this guide, we will walk through the streamlined steps to master skin binding in Maya.
Preparation is Key
Before you jump into the binding process, you must ensure your character model and skeleton are fully prepared. Your geometry should have clean topology, and all transformations on the mesh should be frozen (Modify > Freeze Transformations). Likewise, ensure your joint hierarchy is correctly named and oriented. This preparation prevents unwanted technical artifacts or "glitches" during the deformation phase.
The Core Steps for Binding Skin
To begin the skin binding process in Maya, you first need to select the components you want to link. In a standard workflow, you will select the root joint of your skeleton (or the specific joints you wish to influence the mesh) and then Shift-select the character's geometry.
Once selected, navigate to the Rigging menu set and go to Skin > Bind Skin. While there are several methods available, the "Smooth Bind" option is the industry standard for characters. Smooth binding allows a single vertex to be influenced by multiple joints, which is necessary for achieving organic movements at complex areas like the shoulders, elbows, and knees.
Fine-Tuning Your Results
Once the bind is applied, your mesh will move in sync with your joints. However, the initial automatic weighting provided by the software is rarely perfect. This is where the next stage—Weight Painting—comes into play. By adjusting these weights, you can manually control exactly how much influence each joint has over specific parts of the mesh to fix any "stretching" or "collapsing" issues.
Conclusion
Binding skin is a fundamental skill for any aspiring 3D artist. While the execution only takes a few clicks, understanding the underlying principles ensures your characters are ready for high-quality animation. By following this streamlined workflow in Maya, you can efficiently transition from a static model to a functional, poseable rig in no time.


