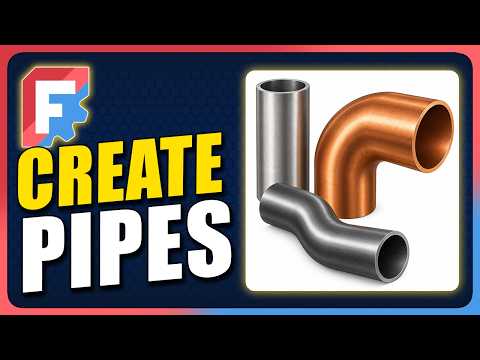
Are you ready to take your 3D modeling skills to the next level? Whether you are a hobbyist exploring 3D printing or an aspiring engineer, finding a practical, step-by-step CAD tutorial is essential for building a solid foundation in parametric design.
In this guide, we will walk you through creating a 3D pipe in FreeCAD using the versatile Part Design Workbench. FreeCAD is a powerful, free, open-source 3D parametric modeler, and learning how to create swept shapes like pipes is one of the fundamental skills every beginner should master.
Understanding the Basics: Profile and Path
To create a pipe in FreeCAD, you need two main elements in your sketch: 1. The Profile: The 2D cross-sectional shape of the pipe (usually a hollow circle or two concentric circles). 2. The Path: The line or curve that defines the trajectory along which the pipe will extend.
By sweeping the cross-sectional profile along the defined path, FreeCAD automatically generates a smooth, realistic 3D tube structure.
Step-by-Step: Creating a Pipe in FreeCAD
Follow these simple steps inside the Part Design Workbench:
- Create a New Body and Sketch: Open FreeCAD, select the Part Design Workbench, and create a new body. Start a new sketch on the XY plane to draw your trajectory path using lines and arcs.
- Draw the Pipe Path: Use the polyline or arc tools to draw the route your pipe will follow. Add constraints and dimensions to ensure precision, then exit the sketch.
- Draw the Pipe Profile: Create a second sketch on a perpendicular plane (such as the XZ or YZ plane) at the starting point of your path. Draw a circle (or two concentric circles for a hollow pipe) and set the desired outer and inner diameters.
- Apply the Additive Pipe Tool: Select your profile sketch, then click on the Additive Pipe (Sweep) feature in the Part Design toolbar. Choose the path sketch as your sweep path, and watch FreeCAD render your 3D pipe instantly!
Following a structured CAD tutorial like this helps demystify complex features and builds confidence in handling 3D workflows.
Why Is Pipe Modeling Important?
Learning how to sweep shapes along a path opens up endless possibilities in 3D design. You can use this exact technique to model plumbing systems, custom wiring conduits, exhaust pipes, and intricate decorative items for 3D printing.
Completing this straightforward CAD tutorial is a major milestone in your FreeCAD journey. Keep practicing, experiment with custom paths, and soon you'll be tackling complex 3D projects with ease!


