Visualizing your architectural designs requires more than just accurate 3D geometry; it requires realistic surfaces that bring a project to life. If you want to elevate your BIM projects from basic models to professional presentations, learning how to handle custom textures in Revit is a fundamental skill that every designer should master.
Where to Source Professional Textures
Before you can apply a custom look to your walls or floors, you need high-quality image files. To achieve the best results, search for "seamless textures" online. Seamless images allow the pattern to repeat across a large surface without visible seams or edges. Websites like Poly Haven, ambientCG, or CGBookcase offer free, high-resolution PBR (Physically Based Rendering) maps. When downloading, ensure you grab the "diffuse" or "albedo" map for color, and if available, the "bump" or "normal" maps to add physical depth to the surface.
Creating a Custom Material Step-by-Step
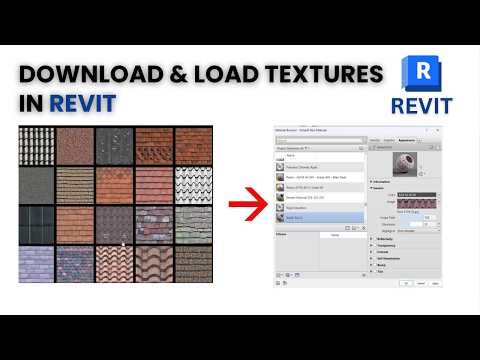
Once you have your image files ready, it is time to bring them into your project environment. Start by opening the Material Browser, which is located under the Manage tab. Instead of overwriting a default asset, it is best practice to create a brand-new material and give it a descriptive name, such as "Custom Oak Flooring" or "Exterior Feature Brick."
In the "Appearance" tab of the Material Browser, click on the "Image" slot to upload your downloaded texture. This is where the magic happens, as you transition from a grey generic box to a realistic building material.
Adjusting Scale and Realism
A common mistake for beginners is getting the texture scale wrong, which makes the material look "tiled" or miniature. Within the Texture Editor, click on the image preview to adjust the "Sample Size." Ensure these dimensions match the real-world scale of the material. For example, if your image shows four rows of bricks, set the sample height to the actual height those four bricks would occupy in reality.
Why Custom Materials Matter
Using the standard library can often make your designs look generic and uninspired. By mastering the material workflow in Revit, you gain the creative freedom to present unique finishes that match your client's specific vision precisely. With a little practice, you will transform flat, clinical renders into professional, tactile visualizations that accurately communicate your design intent.


