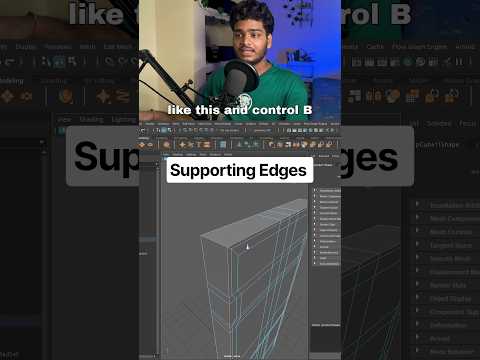
Every 3D artist knows that real-world objects rarely have perfectly sharp, mathematical 90-degree edges. To achieve true realism in your renders, the Bevel tool is your best friend. However, getting those edges to look "just right"—clean, crisp, and professional—can be a challenge if you don't know how to manipulate the specific settings within Autodesk Maya.
Why Beveling Matters in 3D Modeling
In the world of hard-surface modeling, the way an edge catches the light defines the quality of the model. A standard bevel often results in "mushy" or rounded edges that lack definition. To get that high-end, "industrial" look, you need to move beyond the default settings. Sharper bevels help maintain the structural integrity of your mesh, especially when you are preparing a model for high-resolution subdivision or game engine export.
The Secret to Controlling Your Edges
The key to sharper bevels lies in the relationship between the Fraction and Segments attributes. Many artists make the mistake of simply increasing the segment count, which can lead to heavy geometry without added sharpness.
To achieve a crisper look, try reducing the Fraction value while increasing the Segments to at least two or three. This creates a "tight" edge loop that holds the shape firmly. In Autodesk Maya, the Bevel options box also allows you to toggle the "Miter Type." Switching between 'Patch' and 'Radial' can significantly change how the geometry flows around corners, preventing the unsightly pinching that often ruins a clean bake.
Refining Your Workflow for Professional Results
Another professional trick involves adjusting the Depth attribute. By setting the Depth to a value slightly higher than the default, you can create a more concave or convex profile, giving you total control over how "hard" or "soft" the transition appears under studio lighting.
Mastery of these small tweaks is what separates a hobbyist from a professional Autodesk Maya artist. Next time you are working on a hard-surface asset, don't just click "Bevel" and walk away. Dive into the attribute editor, tighten those fractions, and watch your models transform from basic shapes into high-quality, professional assets.


