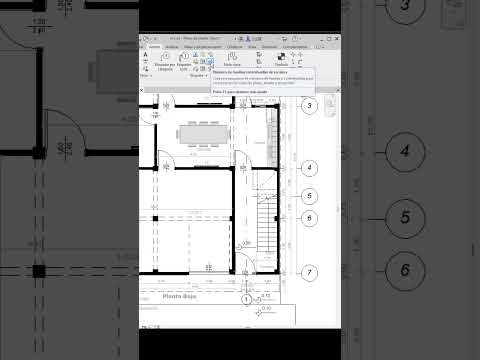
When it comes to architectural documentation, the devil is in the details. One of the most tedious tasks for any designer is manually labeling stair treads and risers. Not only is it time-consuming, but it also increases the risk of human error during late-stage revisions. Fortunately, if you are using Autodesk Revit, there is a built-in feature designed to automate this process, ensuring your floor plans and sections remain professional and accurate.
Why Automate Stair Numbering?
In professional BIM workflows, automation is key to maintaining a high standard of productivity. Manually typing numbers for each step is a legacy workflow that doesn’t belong in a modern office. By using the dedicated tools within the Autodesk ecosystem, you ensure that if the number of steps changes or the staircase is relocated, your annotations can be updated with minimal effort. This consistency is vital for building permits and construction sets where stair counts must be exact for safety codes.
Step-by-Step: Using the Tread Number Tool
To begin numbering your stairs, navigate to the Annotate tab on the top ribbon. Within the "Tag" panel, you will find the Tread Number tool. This tool is specifically engineered to recognize stair components.
- Select the Tool: Click on the "Tread Number" icon.
- Choose Your View: Move your cursor over the staircase in a plan or section view. You will see a blue highlight indicating the stair path.
- Placement: Click on the path where you want the numbers to appear. By default, Revit will place numbers sequentially from the bottom to the top.
- Adjust Orientation: If the numbers are overlapping or positioned incorrectly, you can select the annotation group and use the "Tag Orientation" or "Position" settings in the Properties Palette to clean up the visual.
Customizing the Display
Every firm has its own graphic standards. Autodesk Revit allows you to customize how these numbers appear. You can choose whether to number the treads or the risers, change the text size, and even adjust the starting number. This flexibility ensures that your technical drawings meet your specific project requirements without sacrificing the speed of automation.
Conclusion
Mastering small efficiency tips like automatic stair numbering can significantly reduce your drafting time. Instead of fighting with manual text boxes, leverage the intelligence of your BIM software to do the heavy lifting for you. By integrating these quick habits into your daily workflow, you’ll produce cleaner, more accurate sets of drawings in a fraction of the time.


