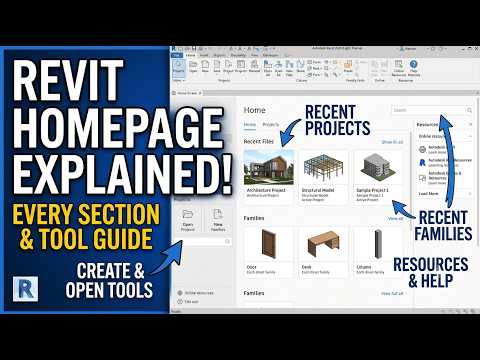
Starting your journey into Building Information Modeling (BIM) can feel like a daunting task, especially when you first open a powerful software suite like Autodesk Revit. With its myriad of buttons, toolbars, and palettes, the interface might seem complex at first glance. However, once you understand the logic behind the layout, you will find that it is designed for maximum efficiency.
In this guide, we will break down the essential components of the Revit interface so you can stop clicking aimlessly and start designing with confidence.
The Ribbon: Your Command Center
At the very top of the screen is the Ribbon. This is where almost all your modeling tools live. It is organized into tabs like "Architecture," "Structure," and "Systems." Each tab contains panels with related tools. For instance, the Architecture tab houses your walls, doors, and windows. If you ever lose a tool, remember that the Ribbon is context-sensitive—meaning if you select an object, a special "Modify" tab will appear to give you specific options for that item.
The Project Browser and Properties Palette
These two windows are the most important areas for managing your project data. * Project Browser: Think of this as the map of your project. It lists every floor plan, 3D view, elevation, and schedule in your file. * Properties Palette: This is where you control the "data" in BIM. When you select an element, the Properties Palette displays its dimensions, materials, and constraints.
Understanding the relationship between these two palettes is key to mastering Autodesk software, as they allow you to toggle between seeing the "big picture" of your project and the "minute details" of a single component.
The Drawing Area and View Control Bar
The large space in the middle is the Drawing Area, where you create your 3D models and 2D drafts. At the bottom of this window sits the View Control Bar. This small but mighty strip allows you to change the scale of your drawing, the level of detail (Coarse, Medium, or Fine), and the visual style (like Wireframe or Realistic).
Quick Access Toolbar and Options Bar
For the tools you use most often—like Save, Undo, and 3D View—look to the very top left for the Quick Access Toolbar. Directly below the Ribbon, you will also see the Options Bar. This bar changes depending on the tool you are using, providing specific settings like the height of a wall before you even draw it.
By familiarizing yourself with these five key areas, you’ll find that Autodesk Revit becomes an intuitive extension of your design process. Mastery takes time, but navigating the interface is the first big win on your path to becoming a BIM expert.


