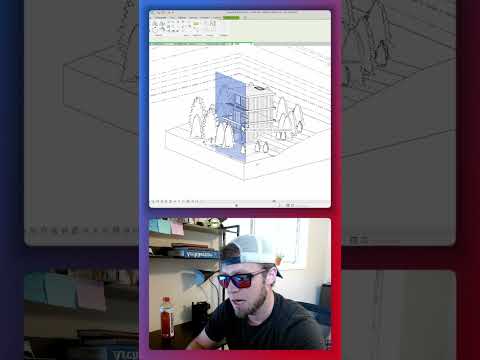
Gridlines serve as the backbone of any architectural project, providing a spatial framework that ensures precision from the initial sketch to the final construction phase. When working with advanced BIM software like Autodesk Revit, understanding how to manage these datum elements is one of the first hurdles every beginner must overcome. Mastering gridlines not only keeps your project organized but also streamlines the collaboration process between different engineering disciplines.
The Fundamentals of Revit Grids
In Revit, grids are more than just lines on a screen; they are intelligent, 3D planes that intersect your model. When you place a grid in a floor plan, it automatically appears in corresponding elevations and sections, provided they intersect the grid’s plane. For those new to BIM software, the most important rule is consistency. Always start by establishing your primary horizontal and vertical axes to ensure that every wall, column, and beam remains perfectly aligned throughout the design lifecycle.
Efficient Editing and Customization
Editing gridlines in Revit is highly intuitive once you understand the interface. You can easily click and drag the "bubbles" to adjust their position or use the "elbow" tool to prevent overlapping labels in crowded areas.
A common tip for beginners is to use the "Propagate Extents" feature. This allows you to apply the visual layout of grids from one view to several others instantly, saving you the tedious work of manually adjusting grid bubbles in every single floor plan.
Understanding 2D vs. 3D Extents
One of the most powerful yet confusing features for Revit beginners is the distinction between 2D and 3D extents. - 3D Extents: When a grid is set to 3D mode, any change you make to its length or position will affect how that grid appears in every other view in the project. - 2D Extents: Switching to 2D mode allows you to move the grid bubble for a specific view without altering its global position. This is essential for creating clean, professional-looking documentation without breaking the underlying model logic.
Conclusion
Grid management is a fundamental skill that separates hobbyists from professionals. By mastering these simple editing tips and understanding how BIM software handles datum elements, you will significantly improve your drafting speed and accuracy. Start experimenting with 2D/3D toggles and propagation tools today to take full control of your Revit projects.


