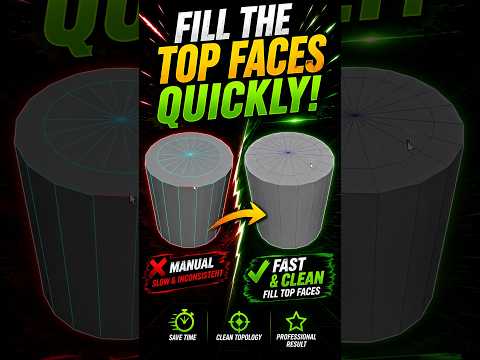
In the fast-paced world of 3D design, efficiency is the bridge between a good artist and a great one. Whether you are creating intricate mechanical parts or sleek architectural visualizations, mastering the small shortcuts can save you hours of tedious work. One of the most common yet time-consuming tasks in hardsurface modeling is closing open geometry. Today, we are looking at how to fill top faces quickly to keep your creative momentum flowing.
Streamlining Your Topology Workflow
When working on complex models, you often find yourself with open edges or "holes" after performing booleans or manual extrusions. Manually creating faces polygon-by-polygon is not just slow; it increases the risk of creating N-gons or messy topology that can ruin your bakes later.
By utilizing the powerful toolset within Autodesk Maya, artists can automate this process. Using features like the "Fill Hole" command or the "Bridge" tool allows you to cap open geometry instantly. This is particularly useful in hardsurface modeling, where maintaining clean, flat top surfaces is essential for achieving those crisp, high-quality highlights.
The Secret to Speed: Selecting and Capping
To speed up your workflow, the key lies in edge selection. Instead of selecting every individual vertex, try double-clicking an edge to select the entire border loop. Once your border is highlighted, a quick application of the Fill tool will seal the surface. From there, you can use the Multi-Cut tool to quickly re-topologize the area into quads if necessary.
As an industry standard, Autodesk software provides various ways to customize your marking menus, allowing you to put these "Fill" commands right at your fingertips. Reducing the number of clicks between you and a finished face is the best way to stay in the "flow state" during a long modeling session.
Elevate Your 3D Artistry
Mastering these micro-skills is what separates a professional 3D artist from a beginner. By focusing on speed and precision, you ensure that your hardsurface models are not only visually stunning but also technically sound for production environments.
If you are looking for a more detailed breakdown of this specific modeling technique or want to see a step-by-step guide on a particular part of the model, feel free to reach out. Continuous learning is the best way to master the ever-evolving world of 3D modeling!


