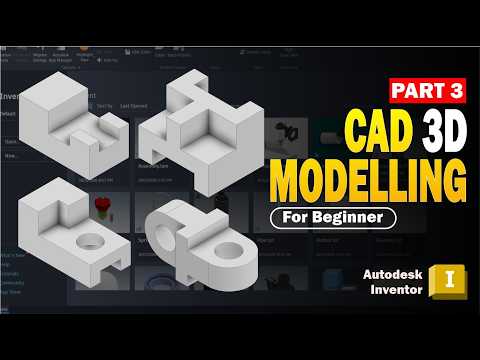
Welcome back to our series on mastering the fundamentals of digital design! If you have been following along, you already know how to create basic shapes and navigate the 3D workspace. In this third installment of our beginner’s tutorial series, we are shifting our focus from building upward to carving inward. Specifically, we are diving deep into one of the most essential tools in the software: the Extrude Cut.
What is the Extrude Cut Tool?
In 3D modeling, "Extruding" usually refers to adding material to a sketch to create a solid form. However, the Extrude Cut function works in reverse. Think of it like a digital chisel. This feature allows you to remove material from an existing solid body using a 2D profile. Whether you need to create a simple hole, a complex slot, or a recessed pocket, mastering this tool is vital for any aspiring designer using Autodesk Inventor.
Step-by-Step: Creating Your First Cut
To get started with an extrude cut, you first need a solid base. Once your initial 3D shape is ready, follow these simple steps:
- Select a Face: Click on the surface of the object where you want to remove material.
- Create a New Sketch: Use the "Start 2D Sketch" command to begin drawing on that specific face.
- Draw Your Profile: Use the line, circle, or rectangle tools to define the area you want to cut out.
- Finish Sketch and Extrude: Once your shape is drawn, click "Finish Sketch." Select the "Extrude" command from the 3D Model tab.
- Change the Boolean Operation: In the Extrude dialog box, look for the "Output" or "Operation" section and select the "Cut" icon. You will see your preview change from a solid addition to a red-tinted subtraction.
Why Precision Matters
The beauty of Autodesk Inventor lies in its parametric nature. When performing an extrude cut, you can define exactly how deep the cut should go. You can choose a specific distance, "To" a certain face, or "Through All" if you need the hole to go entirely through your part. This level of control ensures that your 3D models are manufacture-ready and structurally sound.
Conclusion
The Extrude Cut is a fundamental skill that bridges the gap between simple blocks and complex mechanical parts. By understanding how to subtract volume as effectively as you add it, you unlock a new world of design possibilities. Stay tuned for Part 4, where we will explore even more advanced features to help you become a pro at Autodesk Inventor. Happy modeling!


