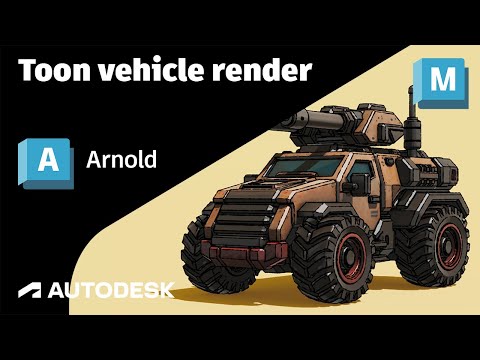
In the modern world of 3D animation and digital art, the "hand-drawn" aesthetic is making a massive comeback. From feature films like Spider-Man: Into the Spider-Verse to stylized video games, the demand for non-photorealistic rendering (NPR) is higher than ever. If you are looking to transform a high-poly vehicle into a vibrant, comic-book-style asset, mastering the toon shading capabilities within Autodesk Arnold is the perfect place to start.
Diving into the aiToon Shader
The heart of any stylized render in Maya is the aiToon shader. Unlike standard physically-based shaders that aim for photorealism, the Toon shader uses stepped ramps to control how light interacts with the surface. When applying this to a vehicle, you can define specific "zones" for highlights and shadows, giving the 3D model a flat, illustrative quality.
Autodesk Arnold provides an incredibly flexible workflow for this process. By adjusting the "Base Tonemap," you can shift from smooth gradients to hard, cell-shaded blocks of color. This is essential for vehicles, as it allows the mechanical details—like the curvature of the hood or the sharp lines of the spoiler—to pop visually without the visual noise of realistic reflections.
Lighting for Stylized Results
Lighting a toon-shaded scene requires a different mindset than traditional rendering. Instead of focusing on global illumination and soft bounces, you want to focus on silhouette and shape definition. Using standard Arnold lights, you can observe how the aiToon shader reacts to light intensity and direction.
A key tip for vehicles is to use rim lighting to separate the car from the background. Because the toon shader is highly reactive to the light's angle, positioning your lights correctly will determine where the "ink" lines and highlights appear, ensuring your vehicle looks dynamic from every camera angle.
Perfecting the Outlines
The secret sauce of a great toon render is the "Edge" control. To get those iconic black outlines, you must enable the "Toon" filter in the Autodesk Arnold render settings. Once active, the shader allows you to control line thickness, color, and opacity based on the camera’s depth or the object's curvature.
By fine-tuning these edge parameters, you can ensure that the intricate parts of the vehicle, such as the wheels and door handles, remain clear and legible. The result is a high-quality, professional render that looks like it was pulled straight from a graphic novel. Whether you are a beginner or a seasoned pro, the Toon features in Maya offer a powerful way to expand your creative portfolio.


