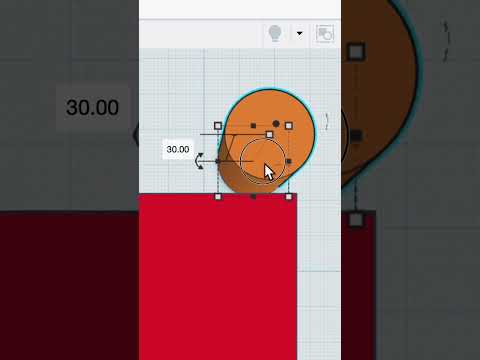
When starting your journey into 3D modeling, Autodesk Tinkercad is one of the most accessible and intuitive browser-based tools available. Whether you are designing custom mechanical parts, miniature figures, or practical everyday objects for 3D printing, knowing how to manipulate basic geometry is essential. One of the most fundamental techniques every beginner needs to master is creating holes and cutouts in solid objects.
In this quick tutorial, we will walk you through the simple process of making a hole in your 3D models step by step.
Understanding the "Hole" Feature
Unlike traditional CAD software that requires complex Boolean operations, creating negative space in Tinkercad is remarkably straightforward. In Tinkercad, any shape can be transformed into a "Hole." When a Hole object is combined with a solid object, it subtracts its shape from the solid piece, leaving behind a clean cutout.
Step-by-Step: How to Make a Hole in Autodesk Tinkercad
- Place Your Base Object: Drag a solid shape (such as a box or cylinder) from the Basic Shapes panel onto your Workplane. This serves as the main body of your design.
- Add the Hole Shape: Drag another shape onto the Workplane that matches the shape of the hole you want to create. You can also select one of the pre-configured striped "Hole" shapes directly from the shape library.
- Set Property to "Hole": If you used a standard solid shape, select it, open the Inspector panel in the upper-right corner, and switch its status from Solid to Hole. The object will turn translucent grey.
- Position and Align: Drag the translucent hole shape so that it intersects your solid base shape where you want the cutout to be. For precision, select both objects and press L to use the Align tool.
- Group the Objects: Select both the base shape and the hole shape simultaneously. Click the Group button on the top toolbar (or press Ctrl + G on Windows / Cmd + G on Mac).
Once grouped, the translucent shape disappears, revealing your newly created hole!
Final Thoughts
Mastering basic operations like grouping and subtraction in Autodesk Tinkercad opens up endless possibilities for your digital design projects. With just a few clicks, you can turn basic geometric blocks into complex functional models.
What feature or technique would you like to learn next? Drop your ideas in the comments below!


