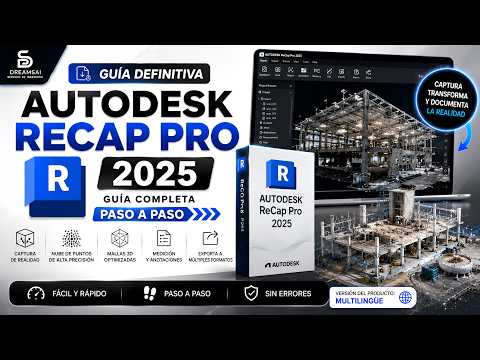
The world of architecture, engineering, and construction is evolving rapidly, and staying up to date with the latest reality capture technology is essential. Autodesk ReCap Pro 2025 remains at the forefront of this evolution, offering powerful tools to convert reality into high-accuracy 3D models. If you are looking to integrate laser scans and photogrammetry into your BIM workflow, getting your software set up correctly is the first vital step.
Why Use Autodesk Recap Pro 2025?
Before diving into the setup, it is important to understand what makes this version stand out. ReCap Pro allows professionals to import, view, and manipulate point cloud data with incredible precision. Whether you are working on a massive infrastructure project or a detailed interior renovation, Autodesk Recap provides the foundation needed to create "digital twins" of the physical world. The 2025 version brings improved processing speeds and better integration with other Autodesk tools like Revit and Civil 3D.
Step-by-Step Installation Instructions
Follow these steps to ensure a clean and functional installation of the software:
- Access Your Autodesk Account: Start by logging into the official Autodesk portal. Navigate to the "Products and Services" section where your licenses are managed.
- Select the 2025 Version: Locate the software in your list and ensure you select the 2025 version. Choosing the "Download Now" or "Install" option will begin the process.
- Run the Installer: Once the executable file has downloaded, right-click and "Run as Administrator" to avoid permission issues.
- Configuration: The installer will guide you through the license agreement and folder selection. The Autodesk Recap installation process is designed to be intuitive, but make sure you have at least 10GB of free space for the core files and additional space for your project data.
- Finalizing the Setup: Once the progress bar reaches 100%, you may be prompted to restart your computer to finalize the system integration.
Optimizing Your Experience
After the installation is complete, launch the application and sign in with your Autodesk ID to activate your license. It is highly recommended to check for any immediate hotfixes or updates within the Autodesk Access app. Utilizing Autodesk Recap effectively requires a solid hardware setup—specifically a high-end GPU and ample RAM—to handle the dense data points found in modern laser scans.
By following this guide, you have successfully set the stage for advanced reality capture. You are now ready to transform raw scan data into actionable insights for your professional projects.


