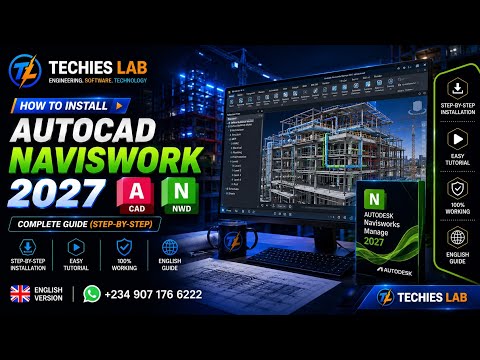
In the fast-paced world of Architecture, Engineering, and Construction (AEC), efficient 3D model aggregation and clash detection are vital for project success. Autodesk Navisworks stands out as an industry-standard solution designed to streamline Building Information Modeling (BIM) coordination and optimize project review workflows. Whether you are an experienced BIM manager or a construction professional stepping into digital project delivery, having a smooth software setup is the crucial first step. In this guide, we will walk you through the full installation process for Autodesk Navisworks Manage 2027.
System Requirements and Pre-Installation Preparation
Before diving into the setup, it is essential to ensure your workstation meets the necessary hardware and software specifications. Because the software handles massive, multi-disciplinary 3D models combined from various CAD applications, performance depends heavily on your system setup.
Verify that you are running a supported 64-bit operating system with sufficient RAM, adequate hard drive space, and a dedicated graphics card capable of handling complex visual rendering. Before launching the setup file, ensure that you close all background applications and log in with administrative permissions on your computer to avoid installation errors.
Step-by-Step Setup Guide for Autodesk Navisworks Manage 2027
Installing Autodesk Navisworks Manage 2027 is a straightforward process when following these simple steps:
- Download the Official Installer: Log into your official Autodesk account portal. Navigate to the "Products and Services" section, locate Navisworks Manage 2027, and download the setup package.
- Run the Installer: Extract the installation files and launch the setup executable file (
setup.exe) as an administrator. - Accept License Terms: Carefully read and accept the end-user license agreement, then click "Next" to proceed.
- Choose Destination Folder: Select the target directory on your hard drive where you want the application files stored, ensuring enough free space is available.
- Configure Additional Features: Select any specialized tools, exporter plugins, or language packs required for your specific workflow.
- Finalize and Activate: Click the "Install" button. Once the installation process completes, restart your computer and launch the software to activate your subscription or license.
Unlocking Efficient BIM Workflows
Once successfully configured, you can immediately begin taking advantage of powerful tools such as advanced clash detection, 4D/5D timeline planning, and integrated quantification. Properly deploying Autodesk Navisworks ensures seamless cross-team communication, helping multidisciplinary teams resolve conflicts early in the design phase and significantly reduce costly field reworks during construction.


