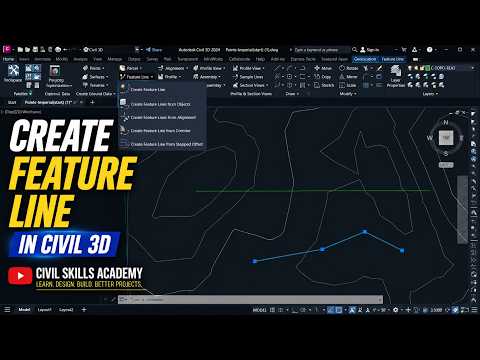
In the world of civil engineering and site design, efficiency and precision are the keys to a successful project. One of the most powerful tools at your disposal within Autodesk Civil 3D is the Feature Line. These dynamic 3D objects serve as the backbone of site grading, allowing you to define elevations, slopes, and breaklines with incredible accuracy.
What are Feature Lines?
Feature lines are linear objects that Civil 3D recognizes as having three-dimensional properties. Unlike standard 2D polylines, feature lines can have unique elevations assigned to every vertex. This functionality makes them indispensable for surface modeling. Whether you are designing a complex parking lot, a retention pond, or a building pad, mastering these tools is an essential skill for any professional using Autodesk software.
How to Create Feature Lines in Civil 3D
Creating a feature line is a straightforward process, but it requires a strategic approach. There are two primary methods to get started:
- Create from Objects: If you already have a 2D polyline or a basic line in your drawing, you can easily convert it into a feature line. This is often the fastest method when you are working from an existing site layout or architectural footprint.
- Draw from Scratch: By using the "Create Feature Line" command, you can manually digitize your design. As you click each point, the software prompts you to assign specific elevations or grades, giving you total control over the vertical design from the start.
When creating these lines, always remember to assign them to a "Site." Sites manage how different feature lines interact with one another, ensuring that crossing lines resolve their elevations correctly.
Best Practices for Effective Grading and Modeling
To get the most out of your surface models, keep these practical tips in mind: * Simplify Your Geometry: Avoid adding unnecessary vertices. Fewer points make the grading logic easier to manage and adjust during the revision process. * Utilize Grading Groups: Link your feature lines to grading groups to automate the creation of slopes and infills. * Check for Conflicts: Always ensure your feature lines do not cross at conflicting elevations within the same site, as this can lead to errors in your final surface.
By integrating these techniques into your workflow, you can significantly enhance the accuracy of your site designs and streamline the surface modeling process. Whether you are a beginner or a seasoned pro, refining your Autodesk Civil 3D skills with feature lines is a guaranteed way to improve your project outcomes.


