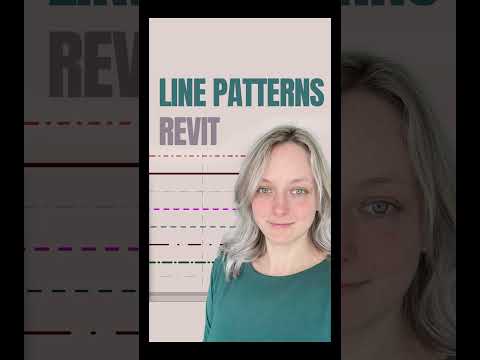
In the world of Building Information Modeling (BIM), clarity is king. While default settings are excellent for standard tasks, true professional documentation often requires a custom touch to meet specific project requirements. If you have ever felt limited by out-of-the-box options, learning how to build bespoke styles within Autodesk Revit is a game-changer for your design workflow.
Accessing the Line Pattern Menu
To begin creating your custom patterns, navigate to the "Manage" tab on the top ribbon of your interface. Under the "Settings" panel, click on the "Additional Settings" dropdown and select "Line Patterns." This opens a dialogue box that lists every pattern currently available in your project. To start from scratch, simply click the "New" button on the right-hand side.
Defining Your Sequence: Dash, Dot, and Space
Creating a pattern is a logical process based on a repeating sequence. Revit uses a simple table consisting of "Type" and "Value." To craft a professional look, you must balance three primary components:
- Dash: A solid line segment of a specific length.
- Dot: A small, circular point.
- Space: The essential gap between your dashes and dots.
For example, to create a standard "Center Line," you would input a Dash (e.g., 10mm), followed by a Space (e.g., 3mm), then a shorter Dash or a Dot, and finally another Space. The software will automatically repeat this sequence across any line length.
Precision and Application
Precision is vital in Autodesk software to ensure your drawings meet local drafting standards. Once you have defined your numerical values, give your pattern a clear, descriptive name—such as "Demolition - Heavy" or "Hidden - Small Scale"—and click OK.
Once created, these patterns aren't just for decorative use; you can assign them to specific "Line Styles," "Object Styles," or "Visibility/Graphic Overwrites." This allows you to maintain total control over the visual hierarchy of your floor plans, sections, and details.
Conclusion
Mastering the finer details of Autodesk Revit doesn't have to be a time-consuming process. By taking just a few moments to set up custom line patterns, you ensure that your project documentation is not only professional but also tailored to your firm’s unique graphic identity. Stop settling for defaults and start customizing your workspace today!


