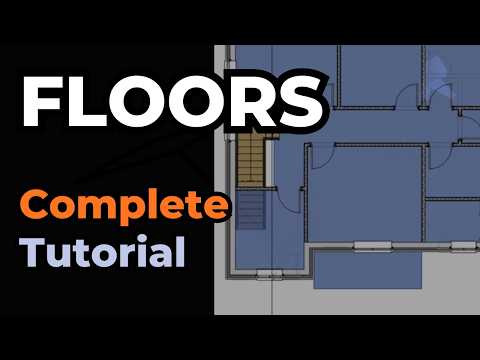
Building a strong foundation in 3D architectural design starts with mastering essential structural elements. If you are just getting started with Autodesk Revit, learning how to create and modify floors is a fundamental skill that will elevate your modeling workflows.
In this beginner-friendly guide, we will walk you through the step-by-step process of creating floors in Revit, along with key troubleshooting tips to help you avoid common beginner mistakes.
Step 1: Entering Sketch Mode
To begin placing a floor, navigate to the Architecture tab on the main ribbon and click on the Floor tool. This automatically places Revit into Boundary Edit Mode (Sketch Mode), indicated by a green checkmark and red cross on the ribbon.
From the Draw panel, choose a sketch tool such as Line, Rectangle, or Pick Walls. Using Pick Walls is often the best practice because it automatically locks your floor boundary to the surrounding walls, adjusting dynamically if your walls move later.
Step 2: Defining and Customizing Your Floor Type
Before finishing your sketch, look at the Properties Palette on the left side of your screen. Industry-leading design software from Autodesk provides a variety of pre-configured floor types, ranging from generic concrete slabs to multi-layered timber floor assemblies.
If you need a specific material thickness or layer structure: 1. Click Edit Type in the Properties Palette. 2. Select Duplicate to create a custom floor type without altering the original settings. 3. Click Edit next to the Structure parameter to assign specific materials and layer thicknesses.
Step 3: Closing the Boundary and Finishing
For Revit to generate a floor, your sketch lines must form a perfectly closed loop with no overlapping lines or unjoined corners. Use the Trim/Extend to Corner tool (shortcut TR) to clean up any loose ends. Once your boundary is complete, click the green Finish Edit Mode checkmark.
Useful Tips for Common Floor Issues
- Attaching Walls to Floors: After finishing a floor, Revit may ask if you want to attach intersecting bottom walls to the floor board. Accepting this prompt ensures clean section cuts without graphical overlapping.
- Creating Openings: To create a stairwell or shaft opening inside a floor, simply draw a secondary closed shape inside your main floor boundary sketch.
- Sloped Floors: You can easily create drainage slopes or ramps by selecting a boundary line in Sketch Mode and applying a slope arrow or adjusting the Defines Slope property.
Mastering floor creation in Autodesk Revit is a critical milestone on your journey toward complete Building Information Modeling (BIM) proficiency. Apply these quick steps to your next project, and you will be drafting clean, professional floor plans in no time!


