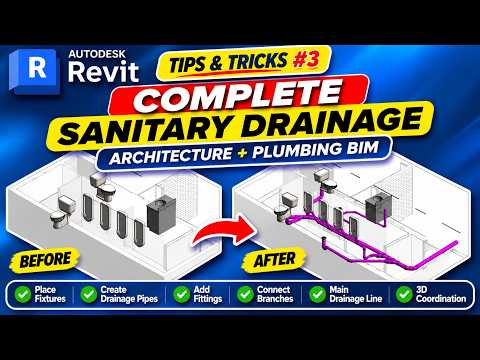
Designing an efficient sanitary drainage system in Autodesk Revit requires a keen eye for detail, precise pipe slopes, and correct fitting selections. Whether you are working on a small residential project or a complex commercial facility, getting the plumbing layout right in the digital model is critical to avoiding costly rework during construction. Combining these modeling techniques with powerful cloud collaboration platforms like Autodesk BIM 360 ensures your entire engineering team stays aligned throughout the design lifecycle.
Key Steps for Setting Up Sanitary Drainage Systems in Revit
To build a seamless sanitary drainage layout, start by configuring your system types correctly. Establishing clear piping rules early on will save valuable drafting time later.
- Maintain Accurate Slope Values: Sanitary lines depend on gravity. Always set your required slope direction and percentage before routing pipe runs to avoid disconnected elements.
- Configure Routing Preferences: Pre-select your preferred wyes, tees, and bend fittings in the Pipe Type Properties. This prevents routing errors when creating complex drop connections.
- Utilize Dedicated Plumbing Views: Apply custom View Templates to isolate sanitary systems, making it easier to spot layout inconsistencies and elevation issues.
Streamlining MEP Workflows with Autodesk BIM 360
Once your sanitary drainage design is laid out in Revit, coordination with structural and architectural disciplines becomes the main priority. By hosting your project models in Autodesk BIM 360, engineering teams can collaborate in real time without version-control issues. Automated clash detection within the cloud environment helps identify hard collisions between underground drainage pipes and structural footings before work reaches the field.
Additionally, centralized access via Autodesk BIM 360 allows field contractors and project managers to inspect 3D plumbing layouts on-site using mobile devices, ensuring the design intent is accurately executed during installation.
Conclusion
Creating a complete sanitary drainage layout in Revit comes down to disciplined setup, proper routing, and smart collaboration. By incorporating these practical tips into your daily workflow and leveraging cloud tools like Autodesk BIM 360, you can deliver high-quality, clash-free MEP models faster than ever before.


